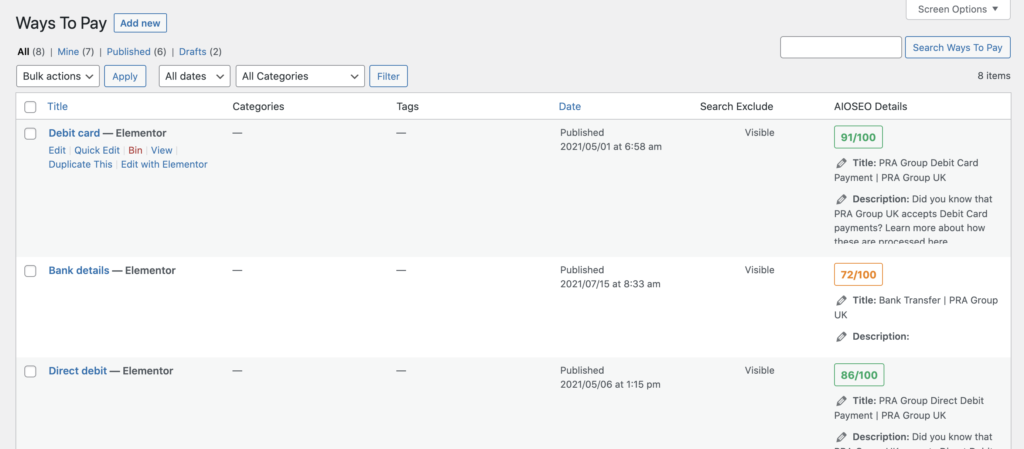
Go to the My Ways to Pay list view and then from there click the button at the top that says "Add New". From there it will take you to a new page.
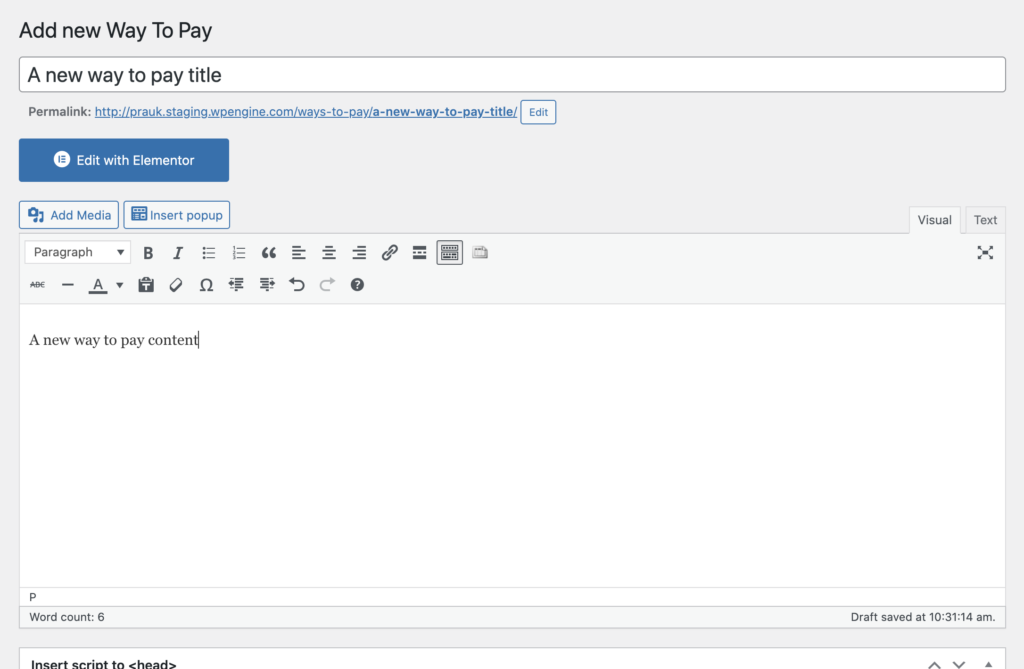
Step 2 - Add relative Ways to Pay information.
In this view you will set the post title and the relative post content in the wysiwyg editor. You can either start to add the content by using the WYSIWYG editor, or you can go fully custom by using the "edit with elementor" option. Most of the existing Ways to Pay entries use the custom elementor option.
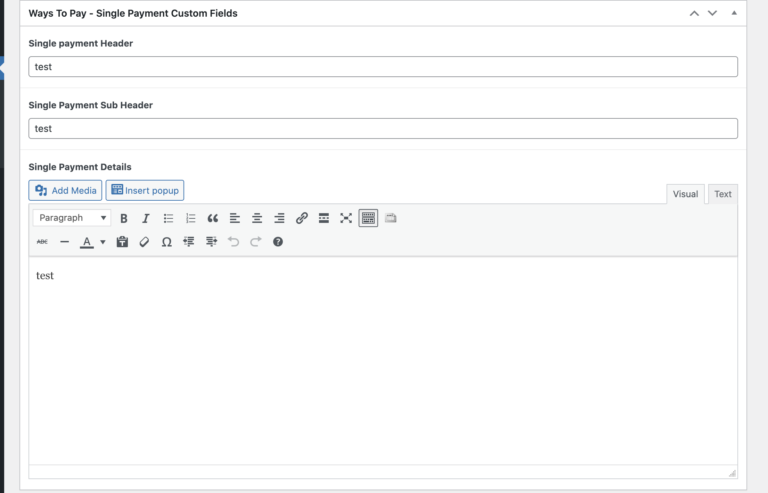
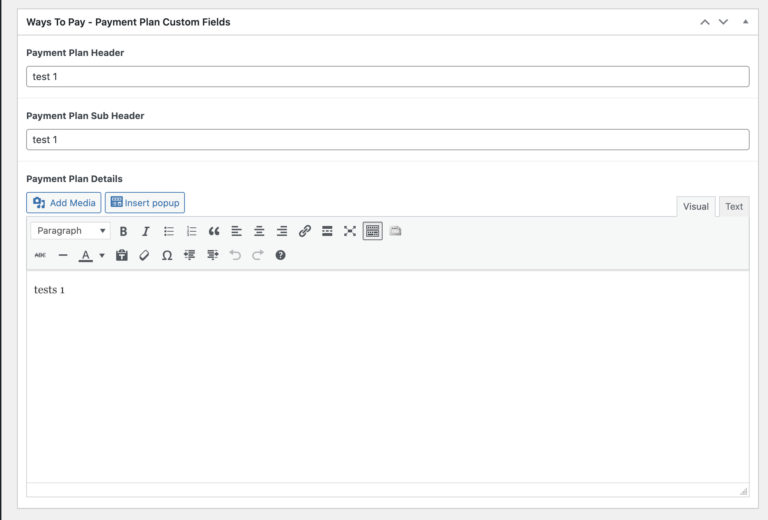
However you also have the option to use custom fields created specifically for this post type. These are where you can set specific rows for specific Payment Options that were noticeable in the original design templates for this site.
These options may not be necessary to do, since there might be specific instructions for the way to pay option that aren't relevant to any of the other ways to pay entries.
Step 4 - set icon for way to pay
After you set the content, you will want to add the icon for the specific way to pay entry. This icon can be uploaded here:
You can either upload a .png file or a .svg file.
You are now leaving the PRAGroup website.
You are going to a third-party website, legal instructional about use governed by website’s terms and conditions and subject to security policies.
Each year millions of people fall behind on their bills for many reasons -
things don’t go as planned, and then debt happens…
When a person is unable to pay back a loan, credit card or another account,
their creditor may sell that debt to a company like ours..
If your account was sold to us, we’re here to help make repayment easier.
We’ll send you a welcome letter that explains who we are and invites you to
access your account online –
where you can view your account information and manage flexible payment
options that allow you to create an affordable payment plan, make a
payment or pay it all off.
We don’t add interest or fees, and we won’t sell your account.
And when your debt is cleared, we’ll happily send you a confirmation.
Because we understand debt happens.
We’re PRA Group.
We’re changing the way debt repayment works by treating our customers
with the fairness and respect they deserve.
We’ve helped millions of people clear a debt - let’s work together to find your
path to recovery.