Helpful Links Post Type
Step 1 - Add New Helpful Link

Go to the Helpful Links list view and then from there click the button at the top that says "Add New Helpful Link". From there it will take you to a new page.
Step 2 - Add relative Helpful Link information.
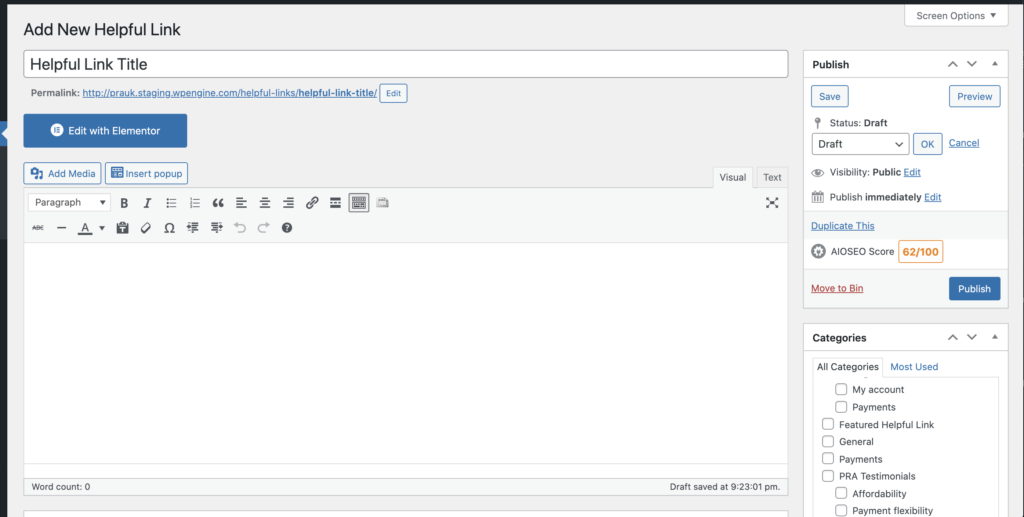
In this view you will set the post title and the relative post content in the wysiwyg editor. Also you will be able to determine whether or not if the post is a featured post or not. If it is you will want to check the "Featured Helpful Link" category in the categories list. If it is a featured helpful link, then the helpful link will appear in the top section of the helpful links section. A Featured Helpful Link will allow for the support of an image an a slightly different ui.
Example of a Featured Helpful Link

Example of a Featured Helpful Link
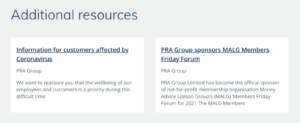

The regular Helpful Links will appear in this style. Which is used in a few places across the site.
Step 3 - add content to the page.
The content for the full-page view of the helpful link can be added either via the wyswig editor which is shown in the screenshot above, or it be added through the "Elementor" editor. To access this, you would simply click the "edit with elementor" button which is above the wysiwyg editor.
Step 4 - set custom link for helpful link (optional).
If the Helpful Link, needs to link out to a different url other than detail page. You can edit the desired url at the bottom of the "Add New Helpful Link" page or the "Edit Helpful Link Page" here:

If you want the page to open in a new tab, simply mark the checkbox that says "Open this link in a new tab" this will also give the Helpful Link ui an external link icon.
